
 1028
1028
Overview
This article walks you through how to process a split payment for a client in Core. A split payment allows a client to pay for a session or service using multiple payment methods—such as account credit, cash, or card. This flexibility helps meet client needs and ensures smooth transactions at the point of sale.
Prerequisites
- Access to Core with relevant permissions
- A client record with an active account credit balance (optional)
- A product, package, or drop-in rate available for purchase
- Understanding of how to use Schedule and New Sale workflows
Step 1: Process a Split Payment via the Schedule
-
Log in to your Core account and navigate to the Schedule.
-
Select a session that has a drop-in price.

-
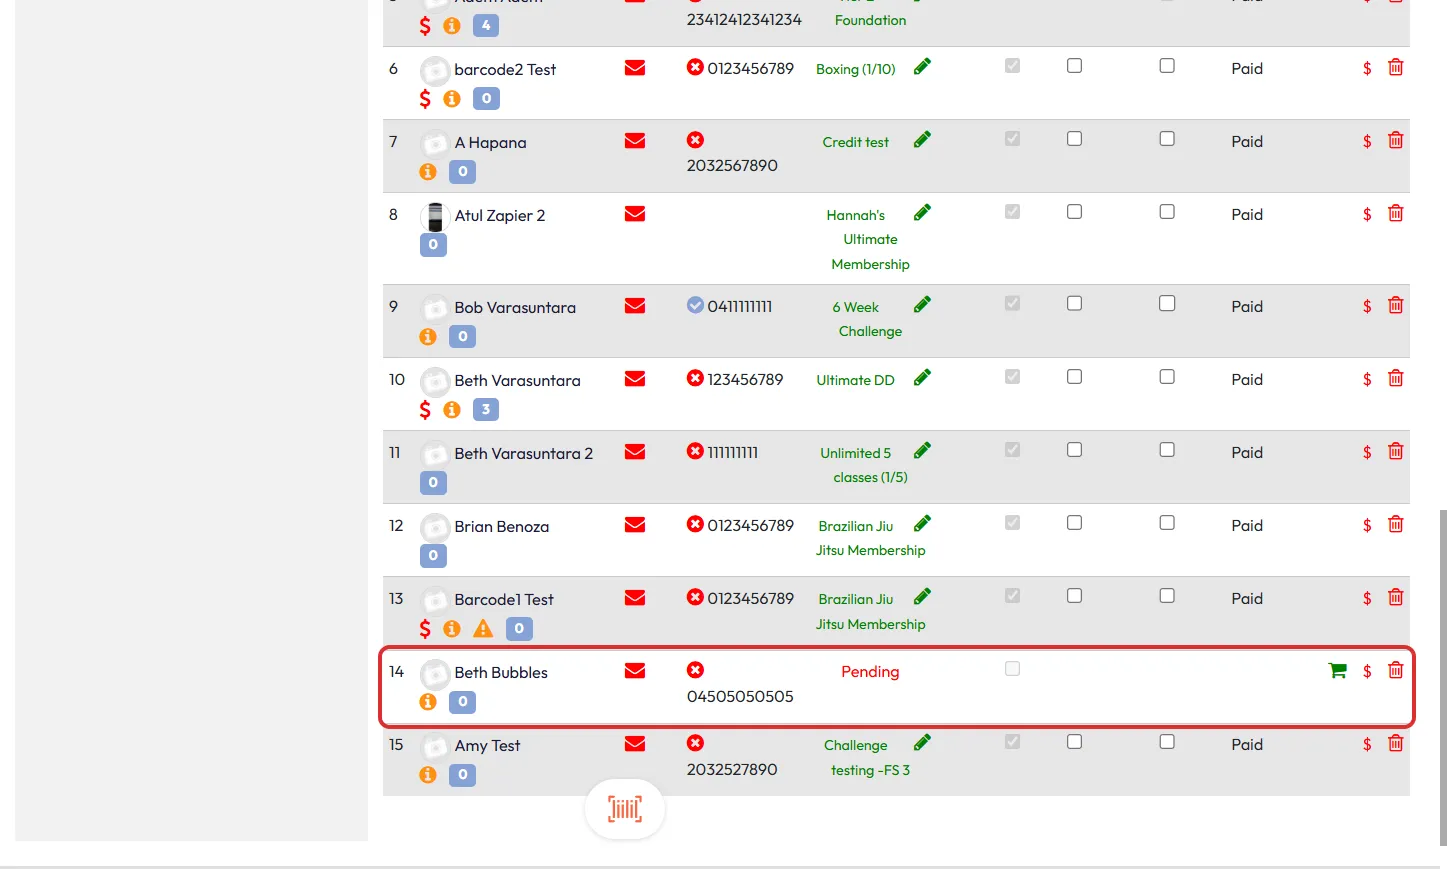
Find the client's name in the attendee list.
-
Click the cart icon next to the client’s name to open the payment screen.
-
In the checkout screen, select your first payment method (e.g., cash) and enter the amount (e.g., $50).

-
Add a second payment method (e.g., card) and enter the remaining amount (e.g., $50).

-
The system will automatically balance the payment. If the split amounts total the full balance, the Checkout button will become active.
-
Click Checkout to complete the sale.
Tip: If a payment method is applied more than once in error, remove the extra method to avoid duplicate charges.
Step 2: Process a Split Payment via New Sale
-
Log in to Core and navigate to Payments > New Sale.

-
Add a product or drop-in rate that exceeds the client’s available account credits.

-
Select the client.

-
In the checkout screen, choose payment methods (e.g., cash, credit card).

-
Then, apply Account Credit (if applicable).

-
Enter specific amounts for each payment method and confirm the total adds up to the full balance.

-
Finalize the checkout to process the sale.
Expected Outcome
- The client’s payment is split across the selected payment methods.
- The transaction is processed without issues.
- A record of the split payment appears in the client’s payment history and reports.
FAQs
Can I split a payment between more than two payment methods?
Yes! You can use account credit, cash, card, or other available methods as long as the total covers the full amount.
Do I need to do anything special if a client’s account credit isn’t enough?
No—simply add another payment method and split the amount accordingly.
Where can I find the transaction after it’s processed?
The split payment will appear in the client’s Payment History under their profile and in Reports > Retail Dashboard.
Need Help?
Reach out to our support team via [email protected].

