
 1257
1257
Overview
This article shows you how to set a specific business location as your default in the Core Hapana platform. Setting a default location ensures your most-used venue loads first, saving time and reducing errors during daily operations.
Prerequisites
- You must have access to a Core Hapana account with admin or profile-editing permissions for your location setup.
- The client should have an active package on that location.
- The Client Membership Package should not be in suspension Mode
- The ‘isDefault?’ toggle should be enabled where the client purchases the package.
1. Log in to Core Hapana
Log in at core.hapana.com/login.
2. Click your Business Name
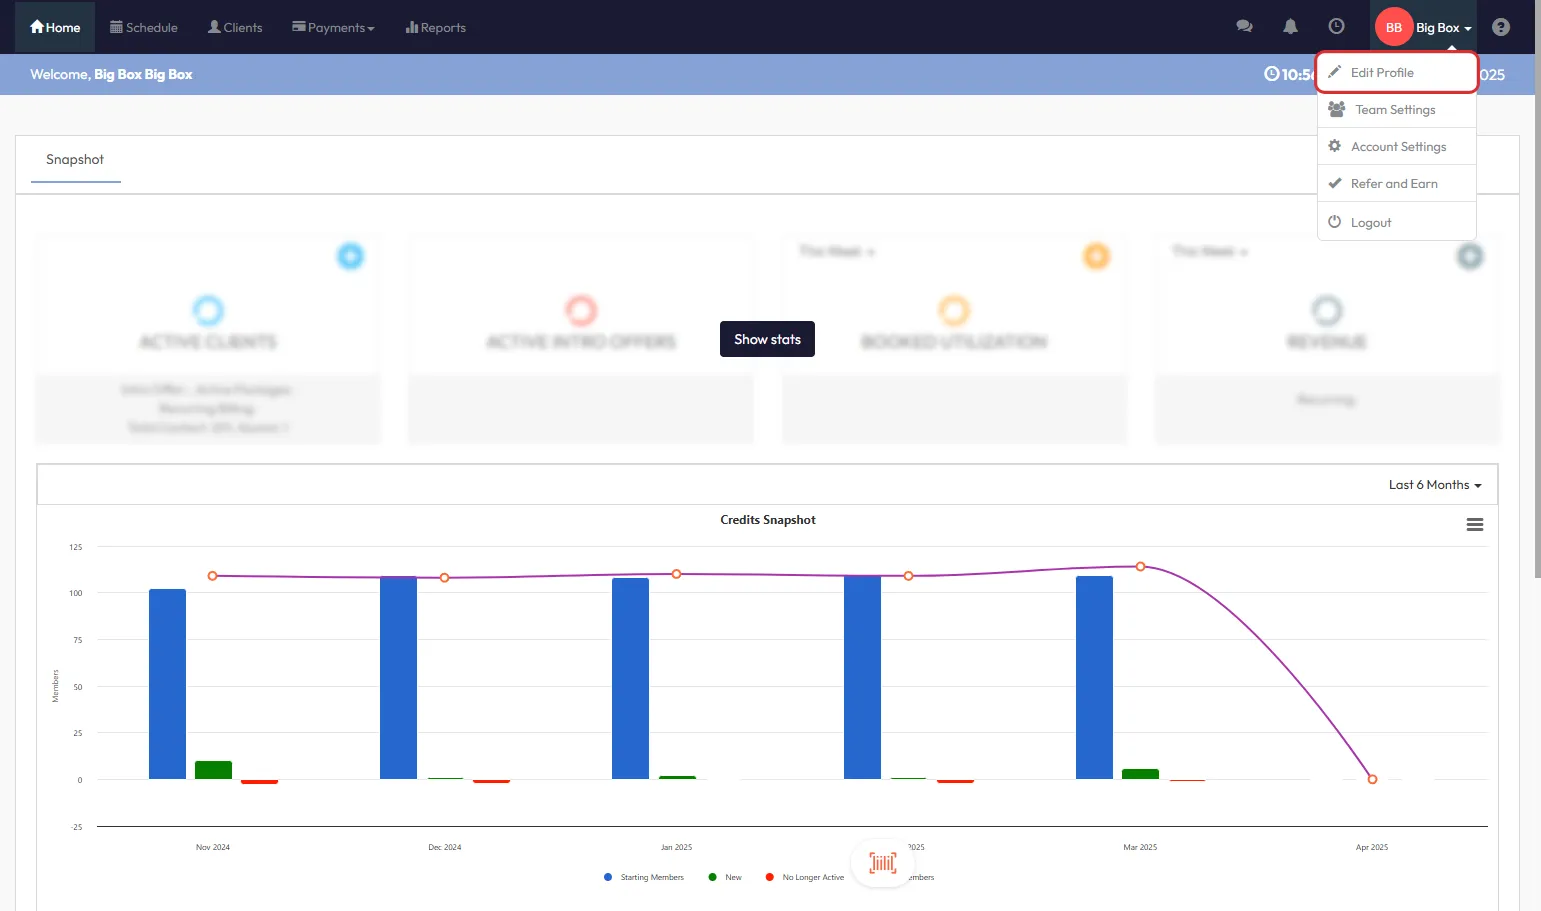
In the upper-right corner of the screen, click your Business Name to access profile settings.

3. Select Edit Profile
From the dropdown menu, click Edit Profile to open configuration options.
4. Navigate to the Location tab
From the left-hand menu, select Location to view your business locations.

5. Click the pencil icon next to the location
Identify the business location you want to set as default, and click the pencil icon next to it.

6. Enable the "Is default?" toggle
Within the location settings, enable the Is default? toggle to set this location as the default.

Tip: Only one location can be the default at any time. Enabling it here will override any previously set default.
7. Click Save
Scroll down and click Save to apply your changes.

Expected Outcome
The selected business location will now load by default when logging into Core Hapana or accessing location-based settings.
FAQs
Q: Can I set multiple locations as default?
A: No, only one location can be set as the default at a time.
Q: Does this affect what clients see?
A: No, this default is for internal system use only.
Q: What if I don't see the 'Is default?' option?
A: Make sure you have the appropriate admin permissions to edit location settings.
Need more help?
Reach out to our support team via [email protected]

