
 1429
1429
Overview
This article walks you through how to update the number of days in advance your schedule will display to clients on your web and app interfaces. Adjusting the 'Days to Display' ensures your members can plan ahead, increasing bookings and reducing confusion.
Prerequisites
- You must have access to Account Settings in Hapana Core.
- Ensure your user role allows configuration changes.
Step 1: Log in to Core
- Go to core.hapana.com/login
- Enter your credentials to access your account.
Step 2: Access Your Studio Settings
- Click your Business Name in the top-right corner of the screen.

Step 3: Open Account Settings
- Select Account Settings from the dropdown menu.

Step 4: Open the Configuration Tab
- Click the Configuration tab in the settings menu.

Step 5: Scroll to the Business Profile Section
- Scroll down to find the Business Profile section.
Step 6: Click Edit
- On the right side of the page, click Edit to make changes.

Step 7: Locate Days to Display
- Scroll to the Days to Display field.
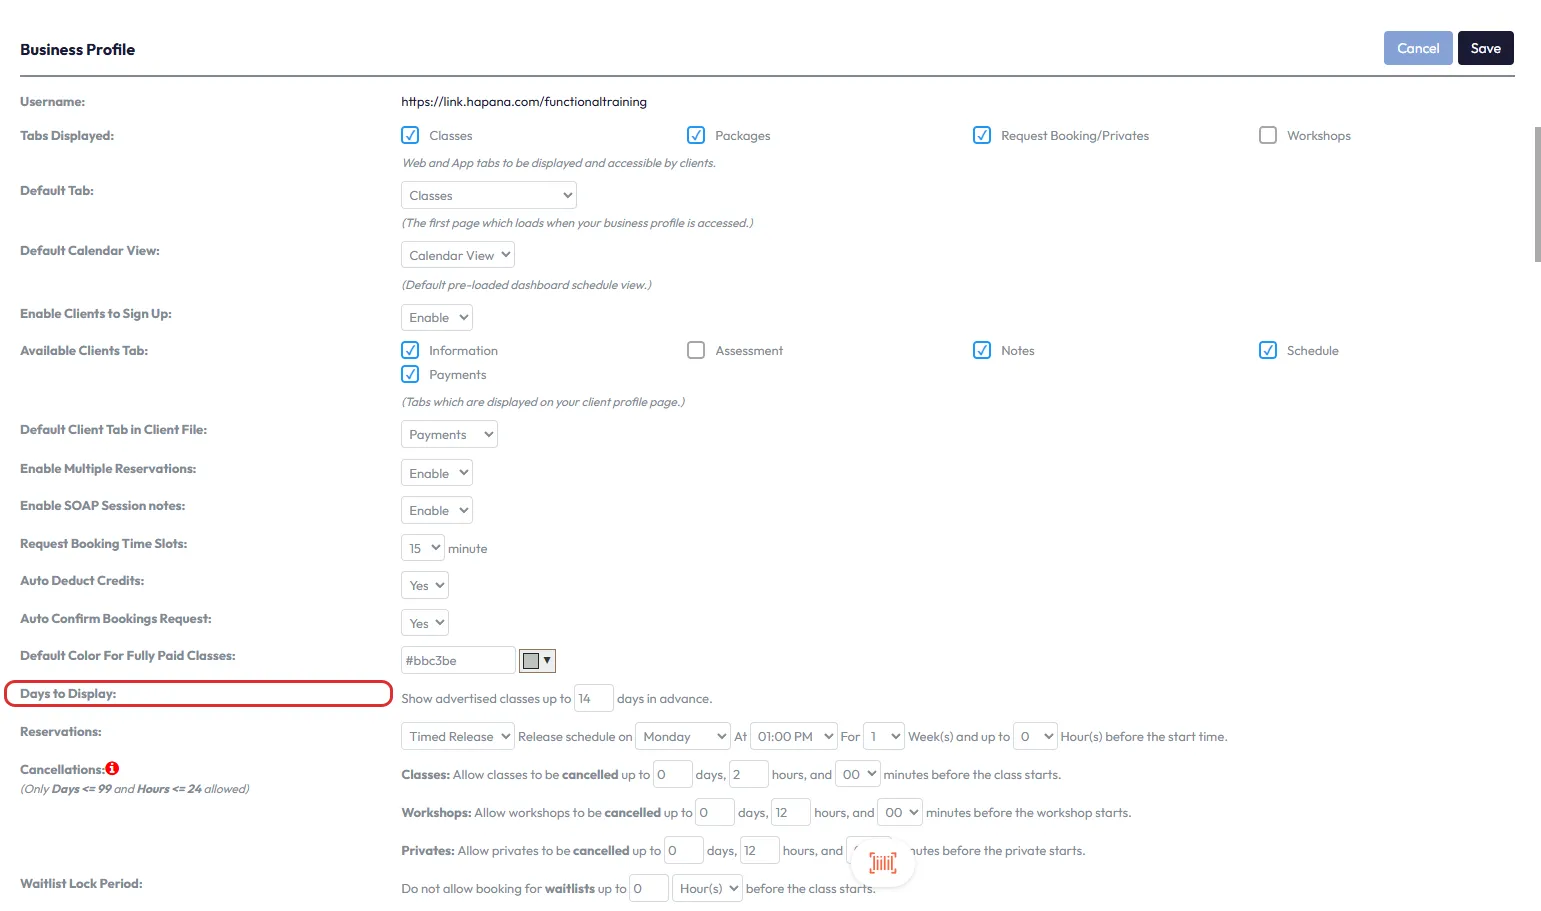
Step 8: Set Number of Days in Advance
- Enter the numerical value for how many days in advance classes should be shown to clients.

Tip: Most businesses display 14 to 30 days of classes in advance to give clients flexibility without showing too much.
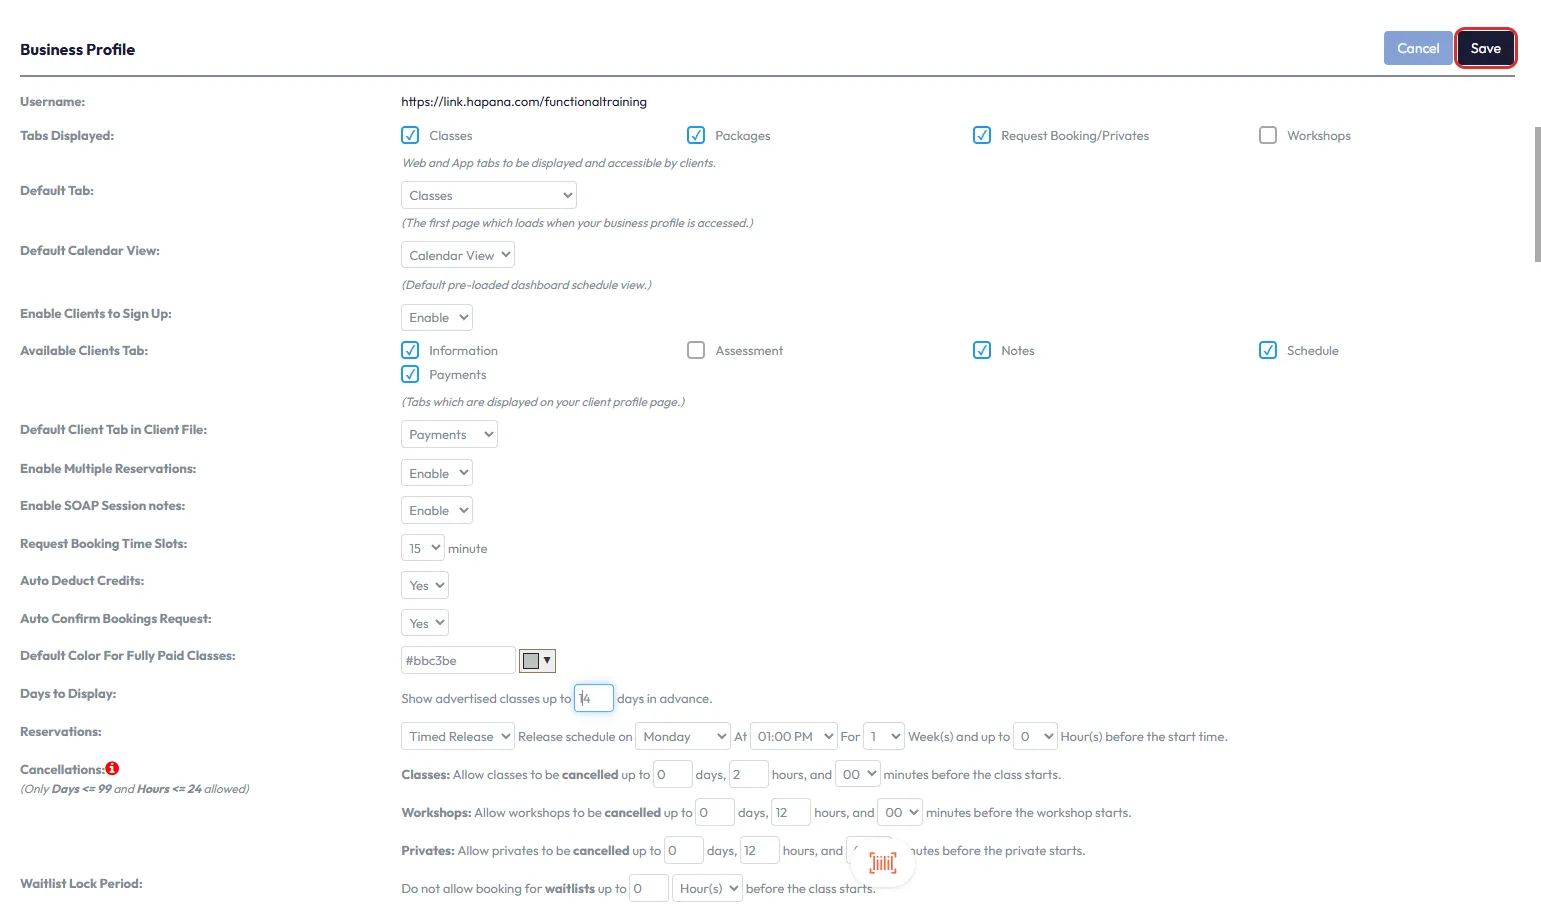
Step 9: Save Changes
- Scroll back to the top of the Business Profile section.
- Click Save to apply your updated display settings.
Expected Outcome
Your class schedule will now reflect the updated number of days in advance, improving clarity for clients booking via the web or app.
Frequently Asked Questions
Q: What happens if I set the value to 0?
A: No classes will be visible on the schedule, which may prevent clients from booking.
Q: Can I preview how this looks to clients?
A: Yes, visit your public booking link after saving changes to confirm the update.
Q: Is this setting applied to both web and app?
A: Yes, the setting applies to both platforms simultaneously.
For any questions or help, reach out to our support team via [email protected]

