
 551
551
Overview
You can customize the content, sender settings, and format of automated email triggers inside CORE. This includes things like birthday messages, welcome emails, and visit anniversaries. You can also control which triggers are active and whether they send via email, SMS, or push notification.
🎥 Watch the walkthrough:
Or preview it below:
Prerequisites
Before you begin:
- You must have admin access to your Account Settings
- You’ll need the content or design you want to use for plain text or HTML emails
- Know which staff should be CC’d or listed as reply-to contacts
Step-by-step instructions
Step 1: Open the email triggers section
- Click on your Location Name
- Go to Account Settings > Configurations
- Scroll down to Customize Email Triggers by Hapana
- Click Edit


Step 2: Understand your trigger list
- You’ll see a full list of emails pre-configured by Hapana
- Green icon = ON (the trigger is active)
- Red icon = OFF (the trigger won’t send)
- You cannot add new triggers, but you can customize existing ones

Step 3: Edit email content and settings
- Click Edit next to any trigger
- In the email settings window, you can update:
- Apply-to name: The business name shown in the email
- Reply-to email: Where replies should be sent
- CC email: Add teammates to receive a copy
- Subject line
- Message body (plain text or HTML)
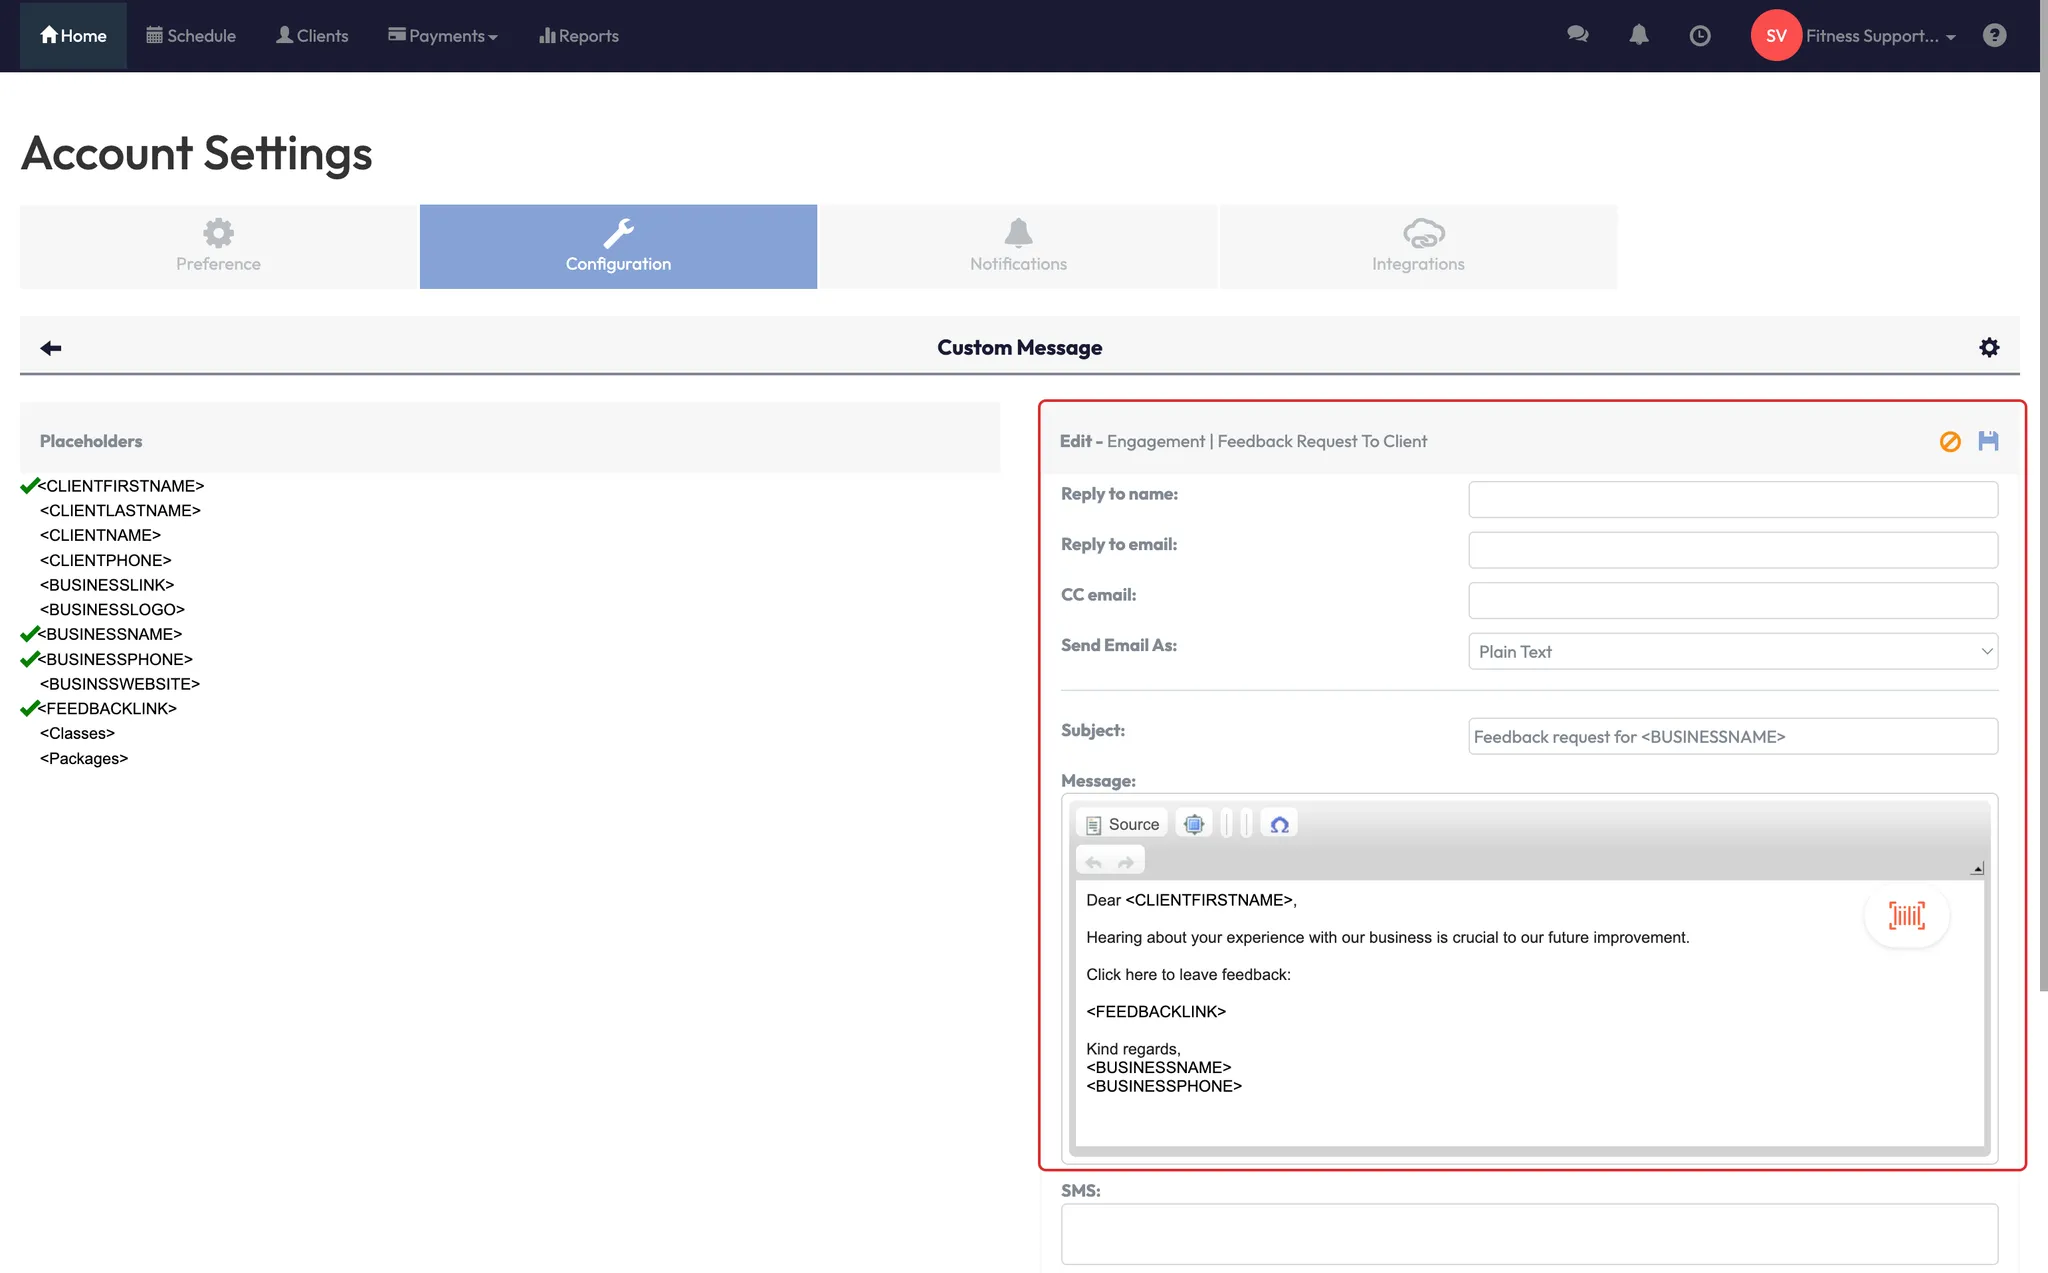
Tip: Use placeholders like [business_name] or [client_name] to auto-fill info in each message.
Step 4: Switch between plain text and HTML
- Plain text: Basic formatting, quick to update
- HTML: Supports banners, images, styled formatting (paste HTML code)
- Choose the format that fits your studio's branding and marketing goals

Step 5: Customize timing and delivery type
- Some emails (e.g. birthday messages) allow you to:
- Set the send timing (e.g., send “0” days before = same-day delivery)
- Enable or disable SMS, push, and email
- Green = active, Red = inactive
- Only the formats that are enabled will be sent to the client
Expected outcome
You’ll have fully customized emails that reflect your studio’s branding and tone. Plus, you'll have control over who receives what, and when — whether via email, SMS, or push.
FAQs
Q: Can I create new email triggers from scratch?
A: No — you can only customize the triggers already provided by Hapana.
Q: Can I edit push or SMS content?
A: You can view SMS and push messages, but only email content is editable.
Q: What happens if I only enable push notifications?
A: Clients will only receive the message via the app — nothing will be sent by email or SMS.
Still need help?
Reach out to our support team via [email protected]

