
 684
684
Overview
Creating a schedule template in CORE makes class setup faster, more consistent, and easier to manage across multiple locations and instructors. This article walks you through how to build a schedule template — including class details, payment options, and repeat settings — so you can easily reuse it when creating new sessions.
🎥 Watch the walkthrough:
Or preview it below:
Prerequisites
Before you begin:
- Confirm that you have admin access to Schedule Settings
- Define your class types and instructors in the system
- Know your payment structure (drop-in price or credits)
- Optional: Have your room resources and multi-location setup configured
Step-by-step instructions
Step 1: Create a new schedule template
-
Click the + icon in Schedule Settings
-
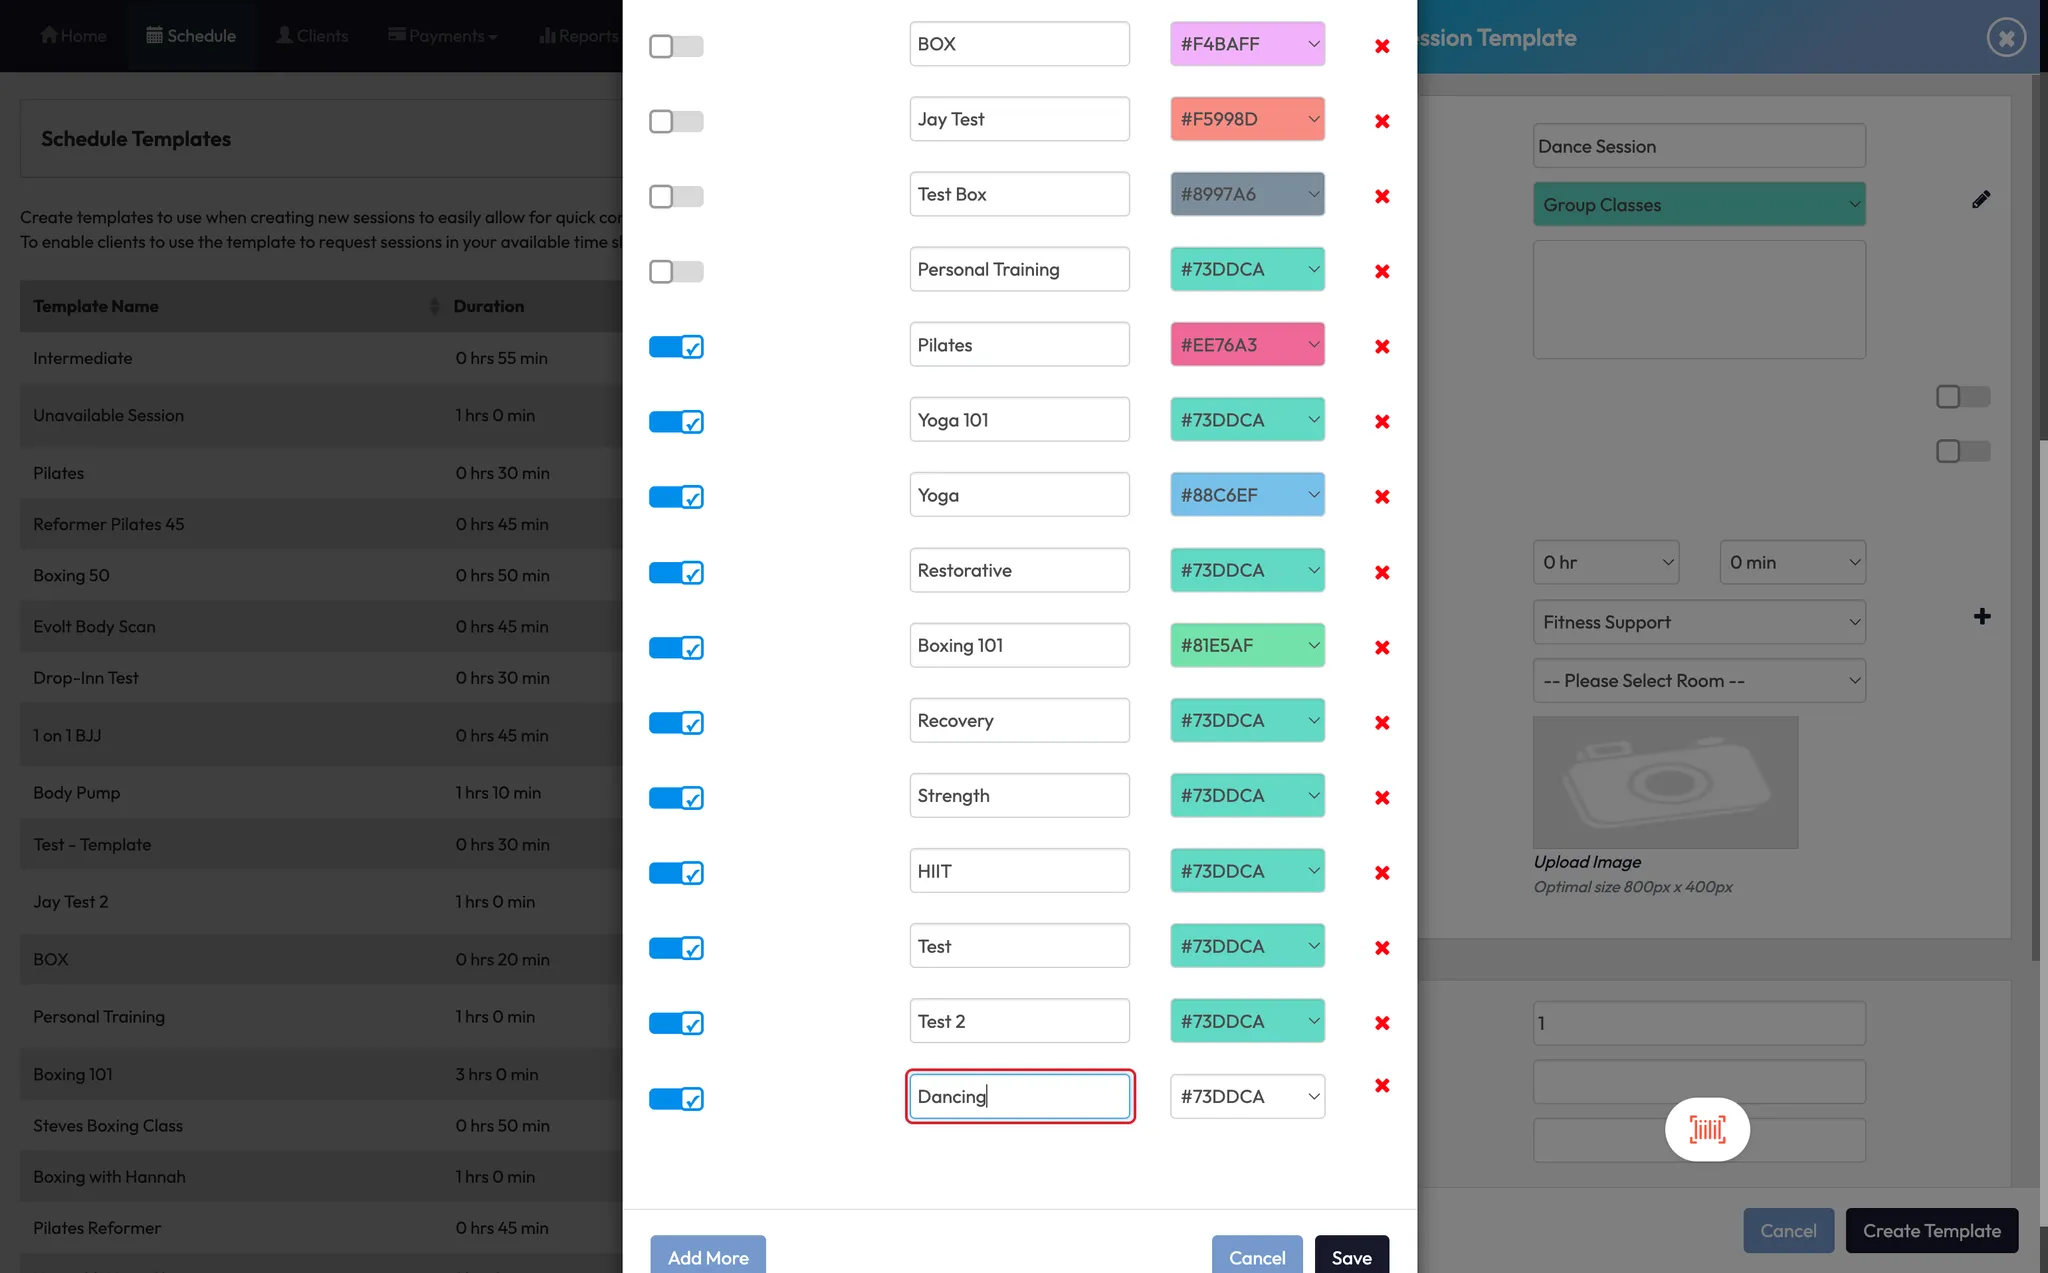
Enter a Template Name (e.g. Dance Session)
-
Choose the Class Type from the dropdown
Tip: Use the pencil icon ✏️ to add new class types (e.g. Dance Fitness)
-
Select a Color to visually differentiate the class on the calendar
-
(Optional) Enable Shared Locations if the template should be used across multiple studios


Step 2: Define class details
- Add a Description (e.g. “Dance workout — bring dance sneakers”)
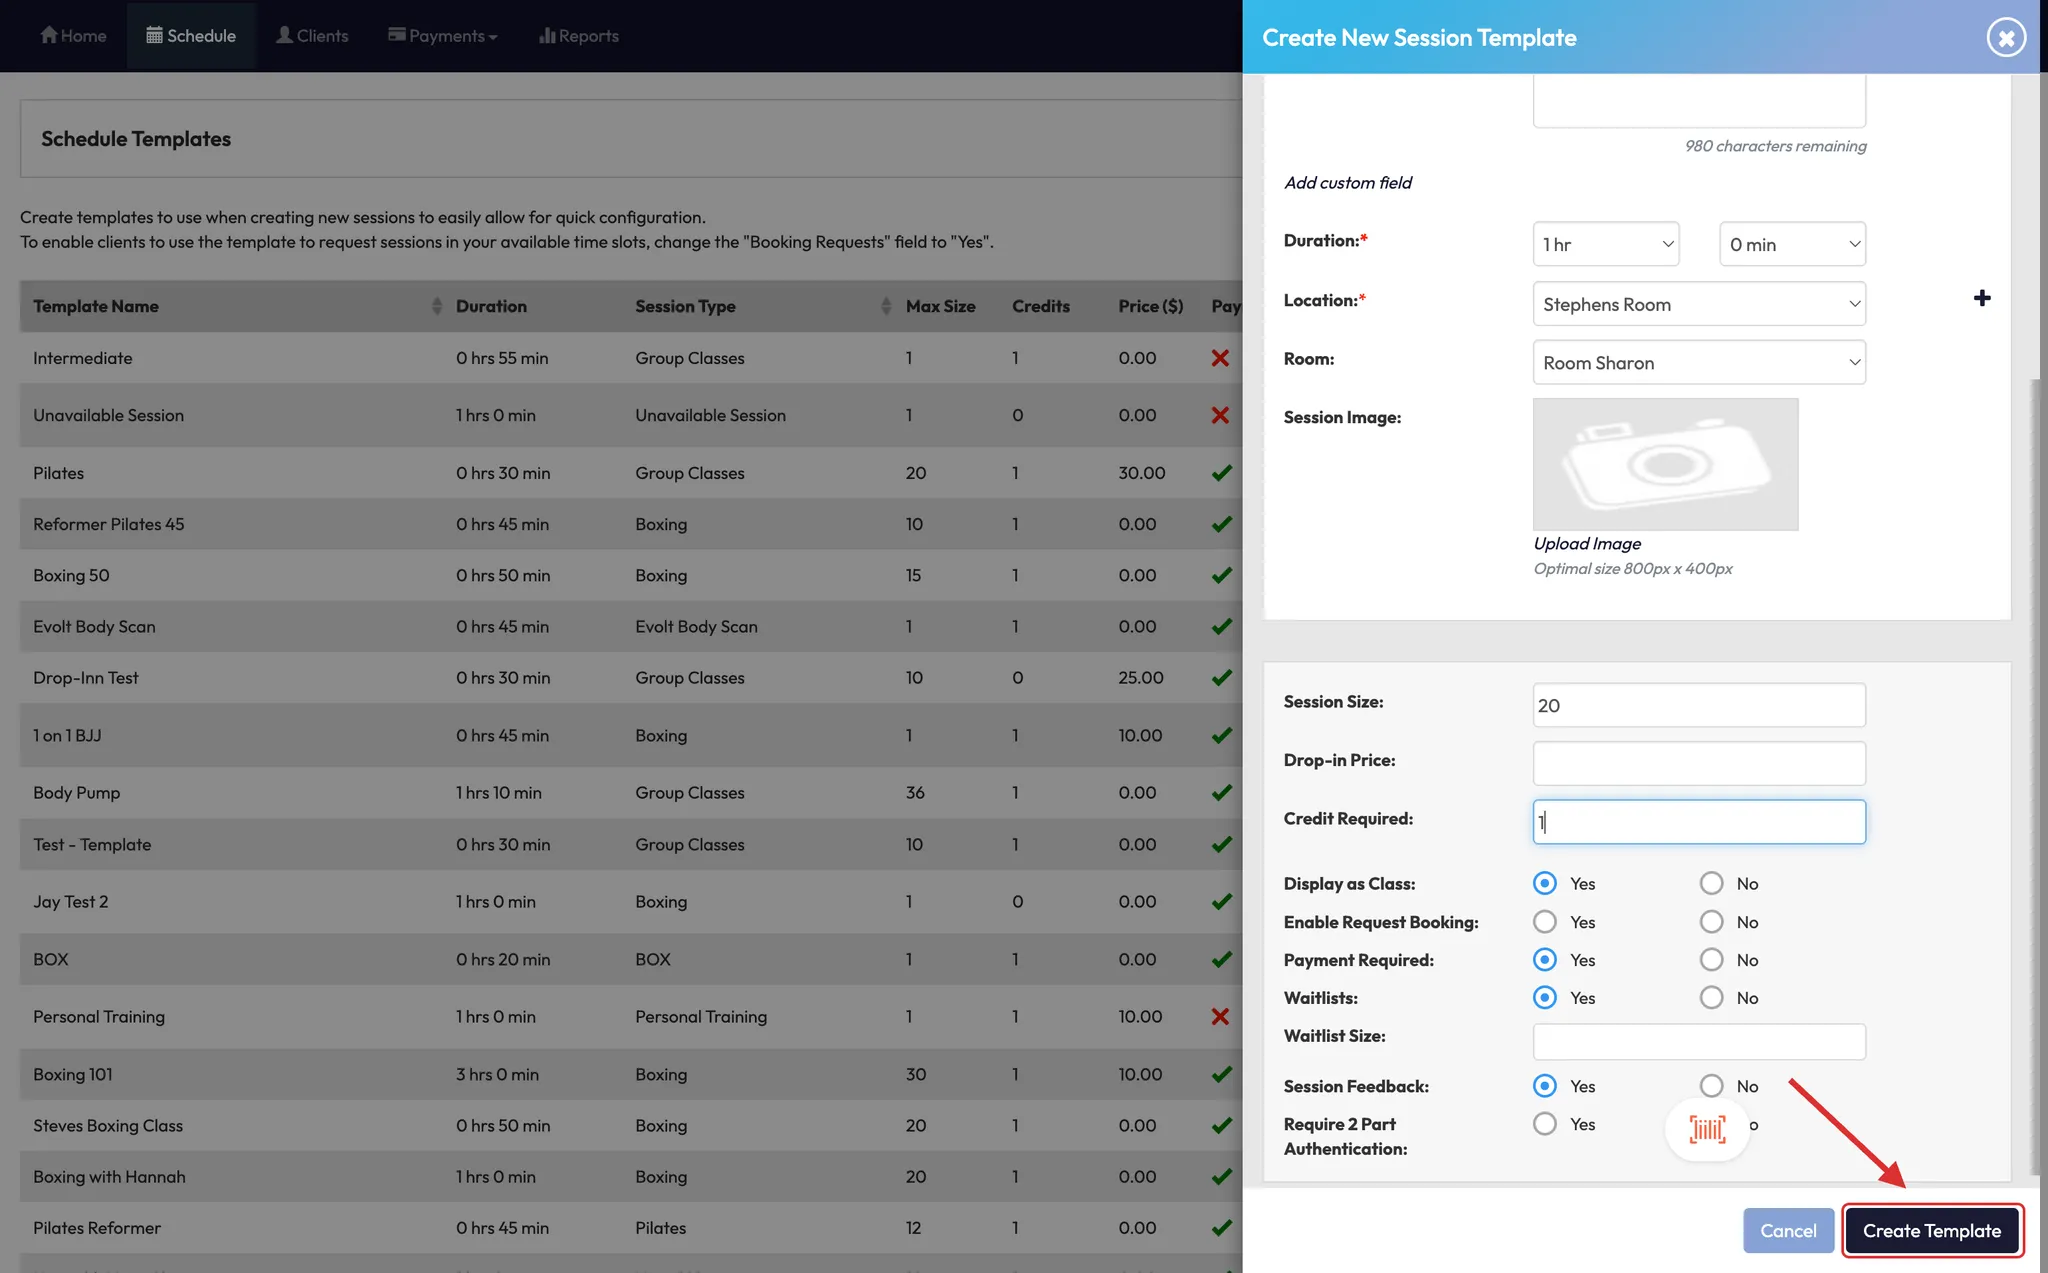
- Set the Duration (e.g. 15 minutes)
- Choose a Location and Room (e.g. Serenity Space)
- Enable Room Resources if clients should book individual spots


Tip: Leave this off for open spaces like yoga rooms or dance studios
Step 3: Set payment and booking settings
- Choose a Session Size (e.g. 15 people)
- Set a Drop-in Price (e.g. $0 if not available for casuals)
- Assign a Credit Value (e.g. 1 credit per session)
- Toggle Yes for Display on Timetable
- Leave Booking Request off unless it's a private session
- Select Payment Required = Yes
- Toggle Waitlist = Yes
- Set Session Feedback = No
- Leave Two-Part Authentication off (unless needed)
- Click Create Template


Step 4: Schedule a class using your new template
-
Go back to Calendar View
-
Select an open time slot (e.g. 8am on Wednesday)
-
Click the recurring arrow icon to set how often the class repeats
- Choose weekly recurrence (e.g. every Wednesday)
- Avoid selecting multiple days at once — this links the classes and changes to one affect all
Tip: Create each weekday’s class separately to keep full control
-
Scroll to Schedule Templates and select your new template (e.g. Dance)
-
Click Next
-
Choose whether or not to Add Clients now (optional)
-
Skip Reservations if not needed
-
Click Create


Expected Outcome
Once the template is set and scheduled, your class will appear in the timetable with all predefined details. You can now add clients, monitor attendance, and manage payments easily — all while maintaining consistency across your class types.
FAQs
Q: Can I reuse this template for other time slots?
A: Yes — just return to the calendar and repeat the scheduling process with the same template.
Q: What happens if I select multiple days during setup?
A: All selected classes become linked. Changing one (e.g. instructor or time) updates them all.
Q: Can I apply templates across multiple locations?
A: Yes — just enable Shared Locations during template creation.
Still need help?
Reach out to our support team via [email protected]

