
 607
607
Overview
When onboarding new clients in CORE, you’ll want to make sure they agree to your studio’s policies and sign required membership agreements. While these sound similar, they serve different purposes:
- A policy is a checkbox during sign-up (e.g. cancellation terms, liability releases)
- A membership agreement is a signed document linked to the client’s membership package
This guide explains the difference, how to set each up, and how they show up during the sign-up and checkout flow.
🎥 Watch the walkthrough:
Or preview it below:
Prerequisites
Before you begin:
- You must have admin access to Retail Configurations
- Know which policies or agreements you want clients to accept or sign
- Membership products should be created in advance if attaching agreements
Step-by-step instructions
Step 1: Create client-facing policies
- Go to Location Name > Edit Profile
- Scroll to the Policies section
- Click Add Policy
- Enter a Policy Name (e.g. Cancellation Policy)
- Add the Policy Text — this is what clients will agree to by ticking a box
✅ Tip: You can create multiple policies (e.g. Liability Waiver, Studio Etiquette) or a single combined “Terms and Conditions” checkbox.
These appear during sign-up and must be checked before proceeding — no signature required.


Step 2: Create a membership agreement
- Go to Payments >Retail Configurations
- Click into your Memberships
- Select a membership and click the pencil icon to edit
- Scroll to the bottom to the Package Agreement section
- Enter the agreement content
- Use shortcodes (like client name, start date) to personalize the text
- This will become a signed digital contract for the client
⚠️ This agreement must be signed before a membership becomes active.


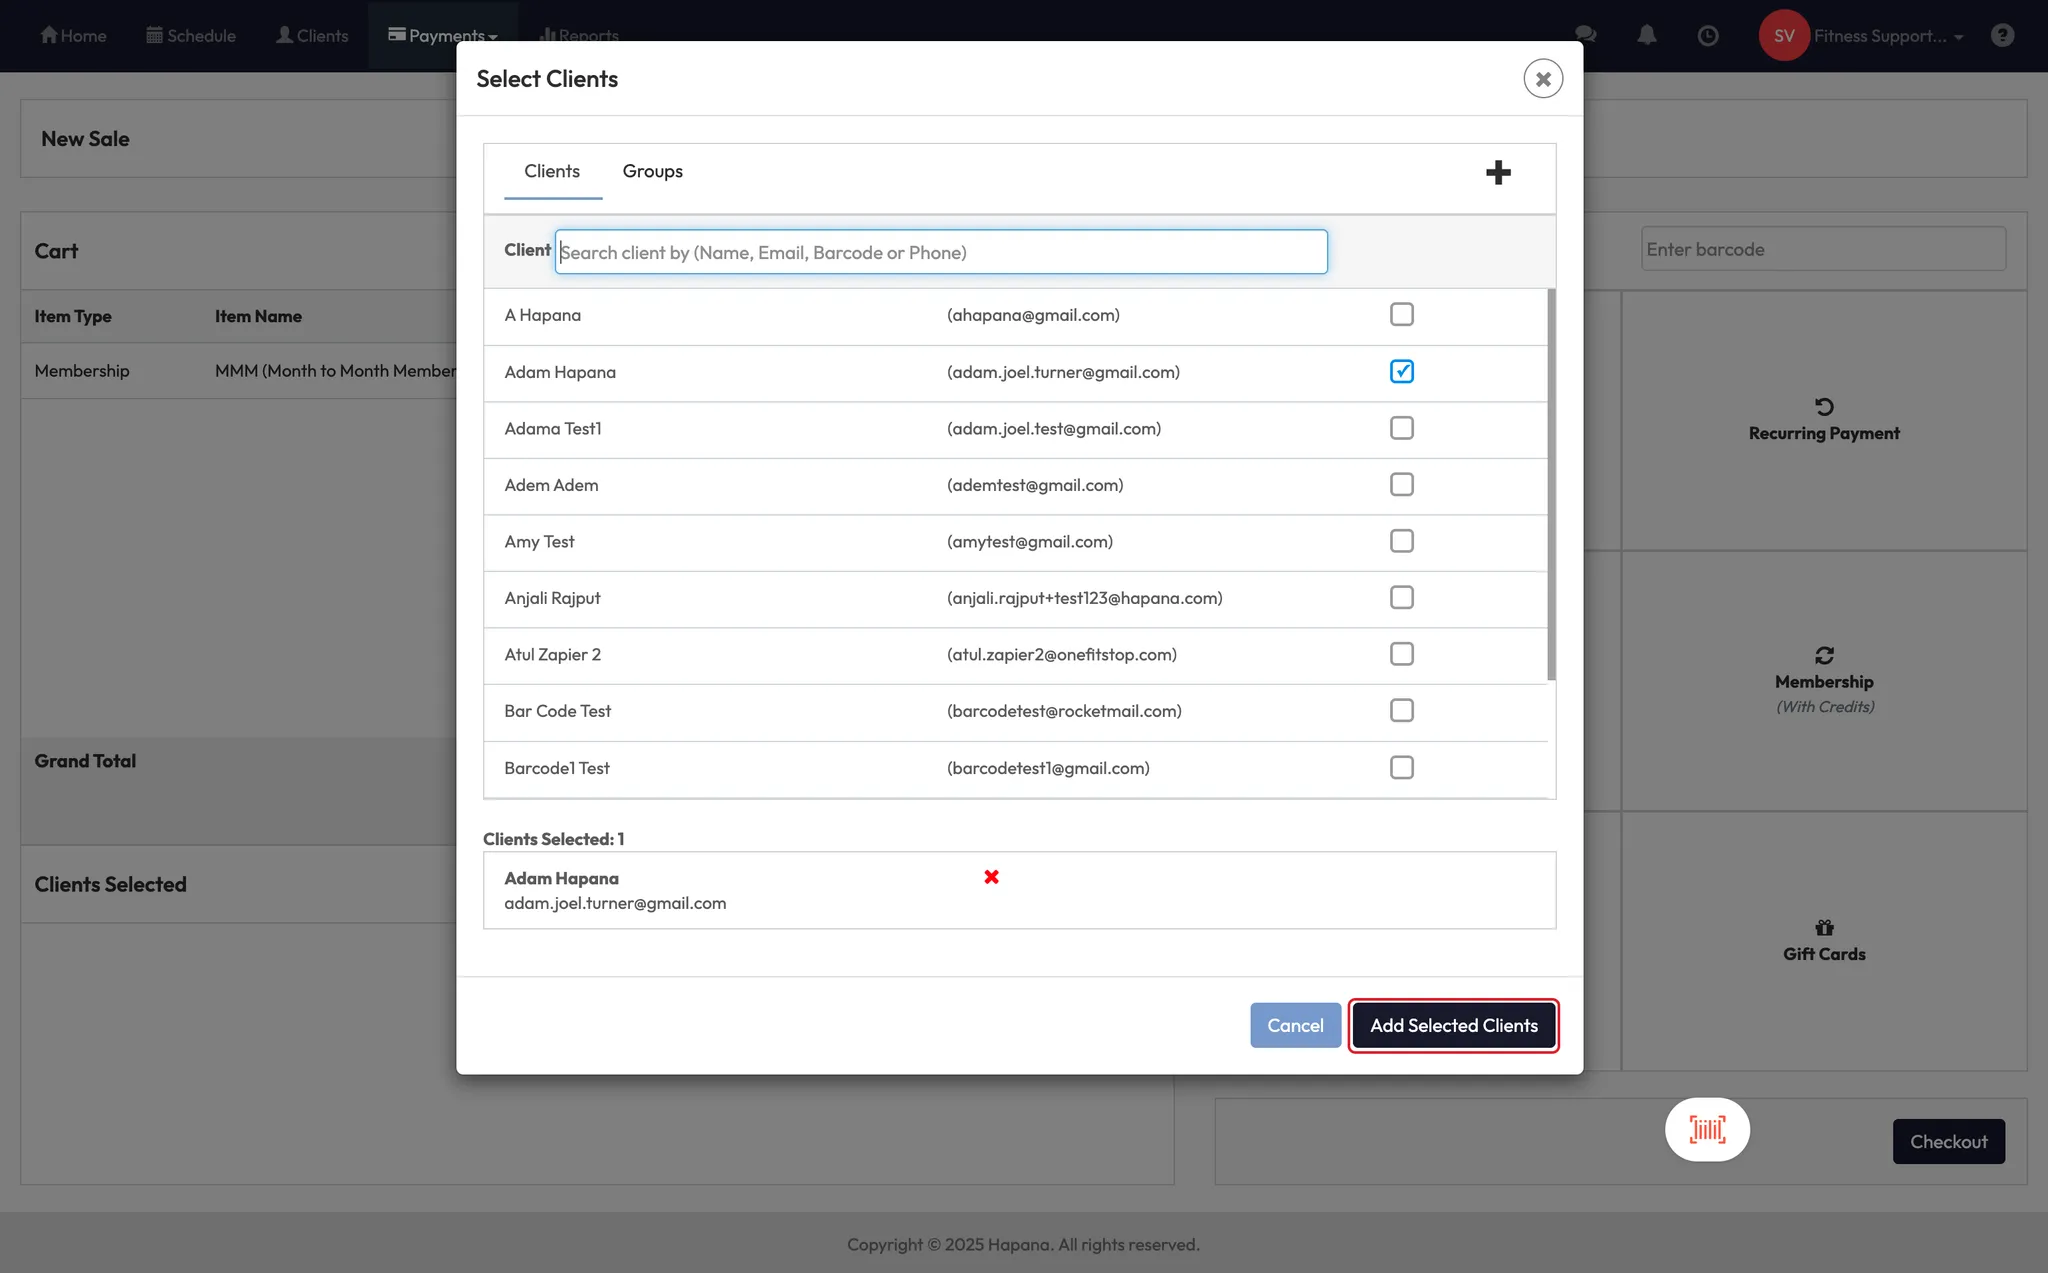
Step 3: Selling a membership with an agreement
- Go to Payments > New Sale
- Add a membership to the cart
- Select the client
- At checkout, you’ll see the option to Send Agreement to Client
Always choose Send to Client — never sign on behalf of a client.
Once sent, the client will receive:
- An email to sign the agreement
- An in-app notification if using the client app
The membership will activate only after the agreement is signed.
✅ Tip: If purchasing directly from the app, clients complete the full process — sign-up, policy agreement, membership selection, and signature — seamlessly in one flow.


Expected Outcome
After setup, your policies and agreements will be built into the client onboarding and sales journey. Clients will check off policies during sign-up, and sign agreements for any memberships they purchase — giving you clarity and legal protection.
FAQs
Q: Can I include policy language in the membership agreement?
A: Yes — you can duplicate or summarize policy content inside the membership agreement for extra visibility.
Q: How do I know if the agreement was signed?
A: You’ll see the signed document in the client’s profile and can download it as a PDF.
Q: Can clients skip agreement signing during checkout?
A: No — the sale won’t finalize until they sign. If sent to the client, it stays pending until completed.
Still need help?
Reach out to our support team via [email protected]

