
 782
782
Overview
You can group clients together and send them bulk messages using email, SMS, or push notifications — all directly from the CORE dashboard. This is useful for sharing updates, class reminders, or announcements with a select group or your entire client list.
You’ll also learn how SMS credits work and how to manage your messaging settings.
🎥 Watch the walkthrough:
Click here to watch on Loom
Or preview it below:
Prerequisites
Before you begin:
- Make sure your clients are added in the system
- You must have admin access to create groups and access configuration settings
- Know which communication type (email, SMS, push) you want to use
Step-by-step instructions
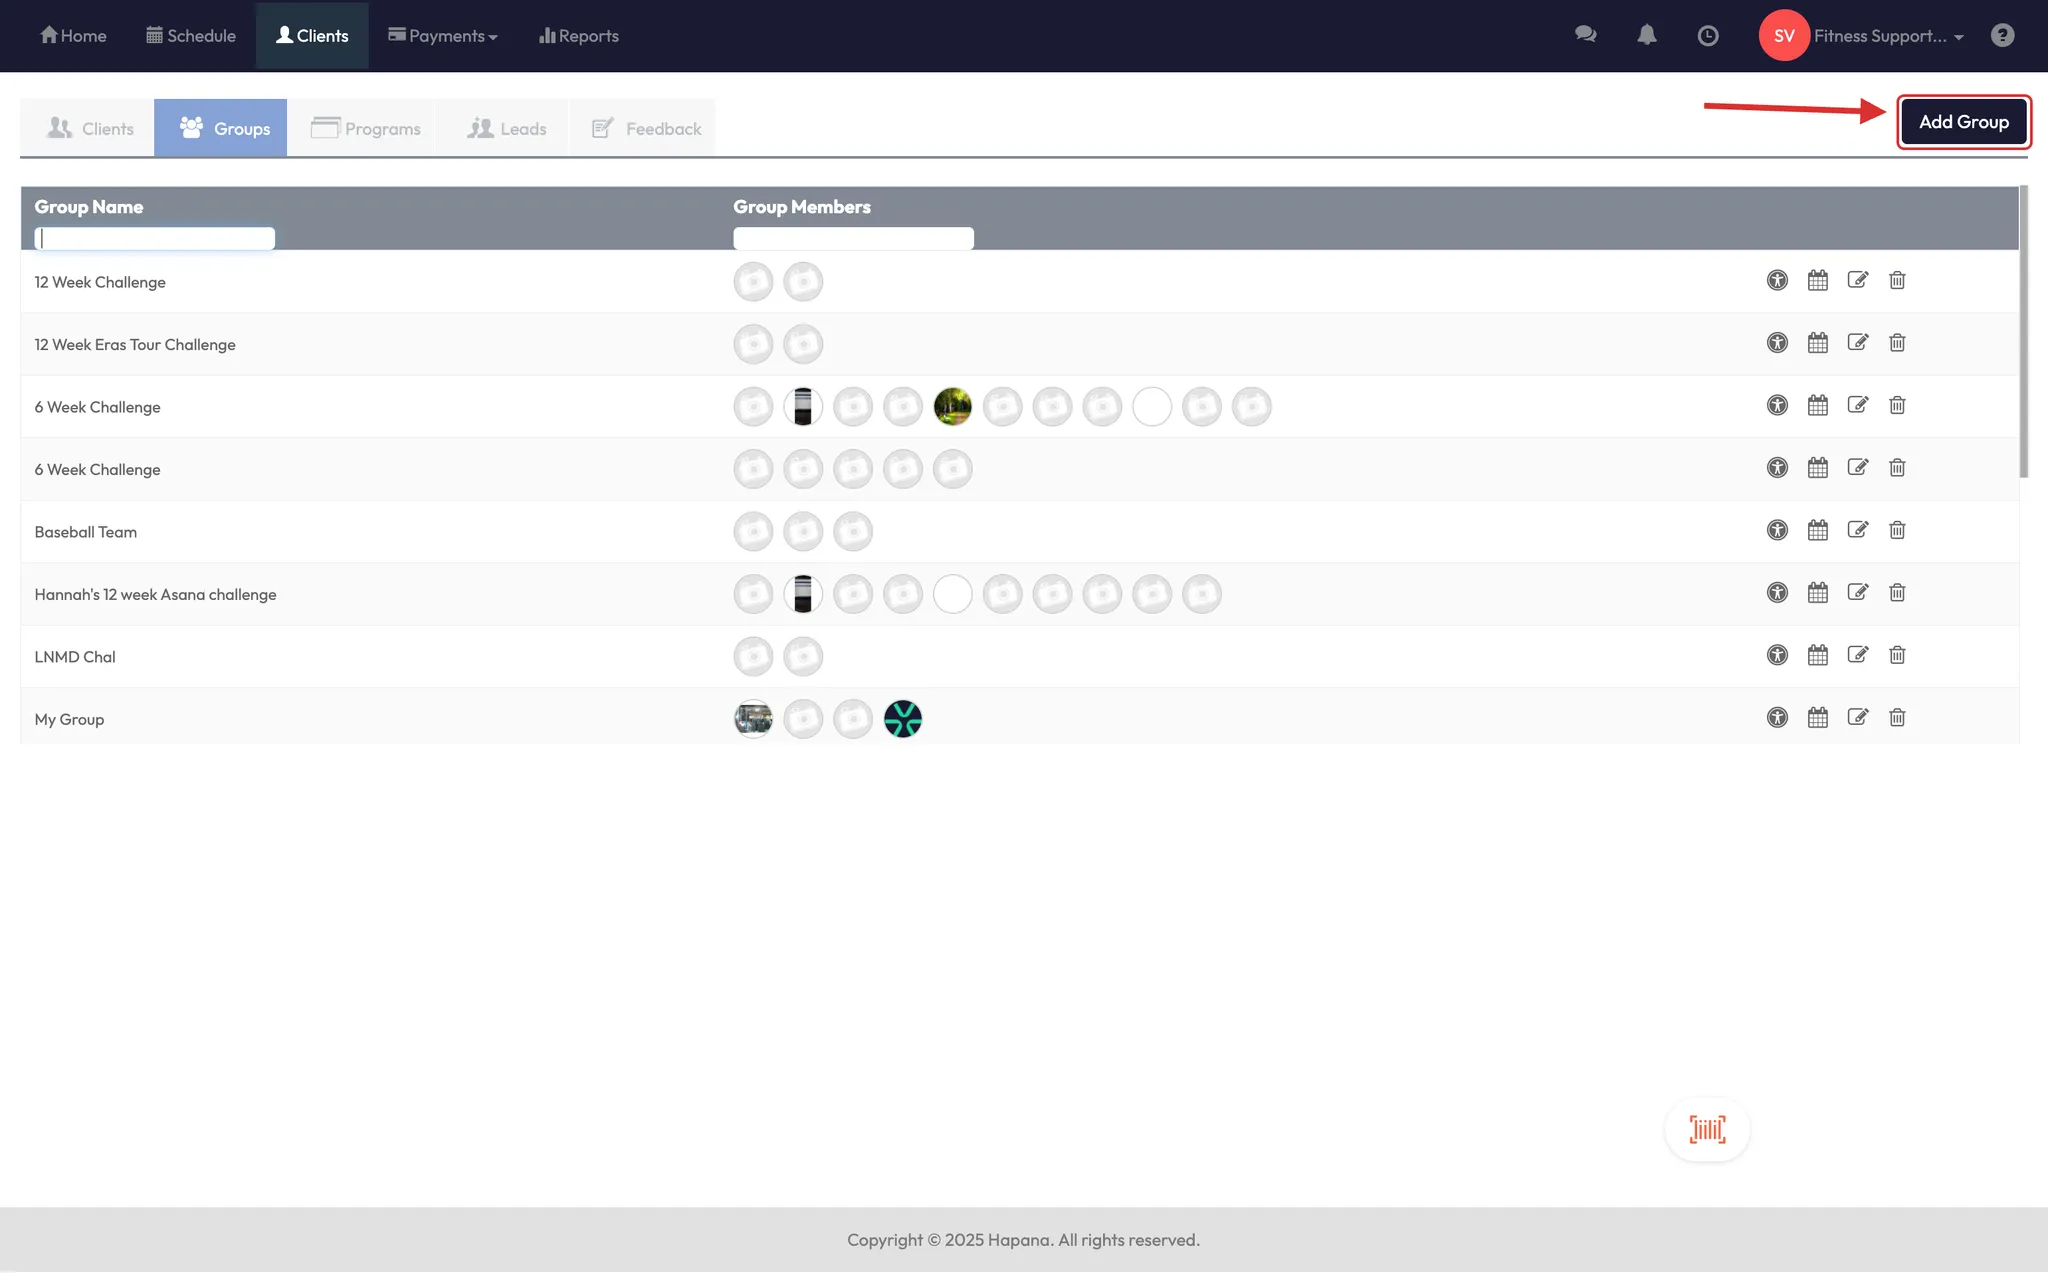
Step 1: Create a client group
- Go to the Clients section
- Select Groups tab
- Click Add Groups
- Select the clients you want to include
- Give your group a name (e.g., “All Clients” or “January Leads”)
- Click Create
Tip: Groups are reusable — you can message them anytime without selecting clients one by one.


Step 2: Send a message to a group
- Click the Messaging tool at the top
- Choose Clients as your target audience
- Select individuals one-by-one or choose an entire Group
- You can also filter by Booked or Waitlisted clients
- Choose your message type:
- SMS
- Push Notification
- Compose your message and send it
Tip: Emails go to the email address on file. SMS uses the mobile number. Push shows up as a phone notification.


Step 3: Be smart about using SMS
- You get 100 free SMS credits per month
- Email and push notifications are unlimited and recommended for larger audiences
- To purchase more SMS credits:
- Go to Account Settings > Billings
- Find SMS Credits
- Click Edit to buy more
Tip: SMS credits are used quickly — especially if you have a large client base. Use push/email for non-urgent messages.


Step 4: Review your message triggers
- Go to Account Settings > Configurations
- Scroll to Email Triggers by Hapana and click Edit
- You’ll see three options for each trigger:
- SMS
- Push
Green = ON
Red = OFF
This determines what messages go out automatically (e.g., birthdays, anniversaries).
Note: You can edit email messages, including adding placeholders and logos.
You cannot edit SMS or push content at this time.


Expected outcome
Once set up, you’ll be able to send messages to groups or individual clients through email, SMS, or push. You’ll also have better control of your message triggers and SMS usage across the platform.
FAQs
Q: Can I edit push or SMS content?
A: Not at the moment. You can view which triggers send them, but only email messages can be customized.
Q: What happens when I run out of SMS credits?
A: Messages won’t send unless you purchase additional credits from your Billing section.
Q: Can I schedule a message to go out later?
A: Not yet — messages must be sent manually when you're ready.
Still need help?
Reach out to our support team via [email protected]

