
 480
480
Adding team members in CORE is quick and flexible. You can assign them to predefined Team Access Groups for consistent permission levels — or customize access on the fly for unique roles. This guide covers how to add team members, handle email conflicts, assign payroll tiers, set work hours, and link instructors to specific schedule templates.
🎥 Watch the walkthrough:
Or preview it below:
Prerequisites
Before you begin:
- You must have access to Team Settings
- Recommended: Preconfigure Team Access Groups
- Know the team member’s email, role, and work hours (if applicable)
Step-by-step instructions
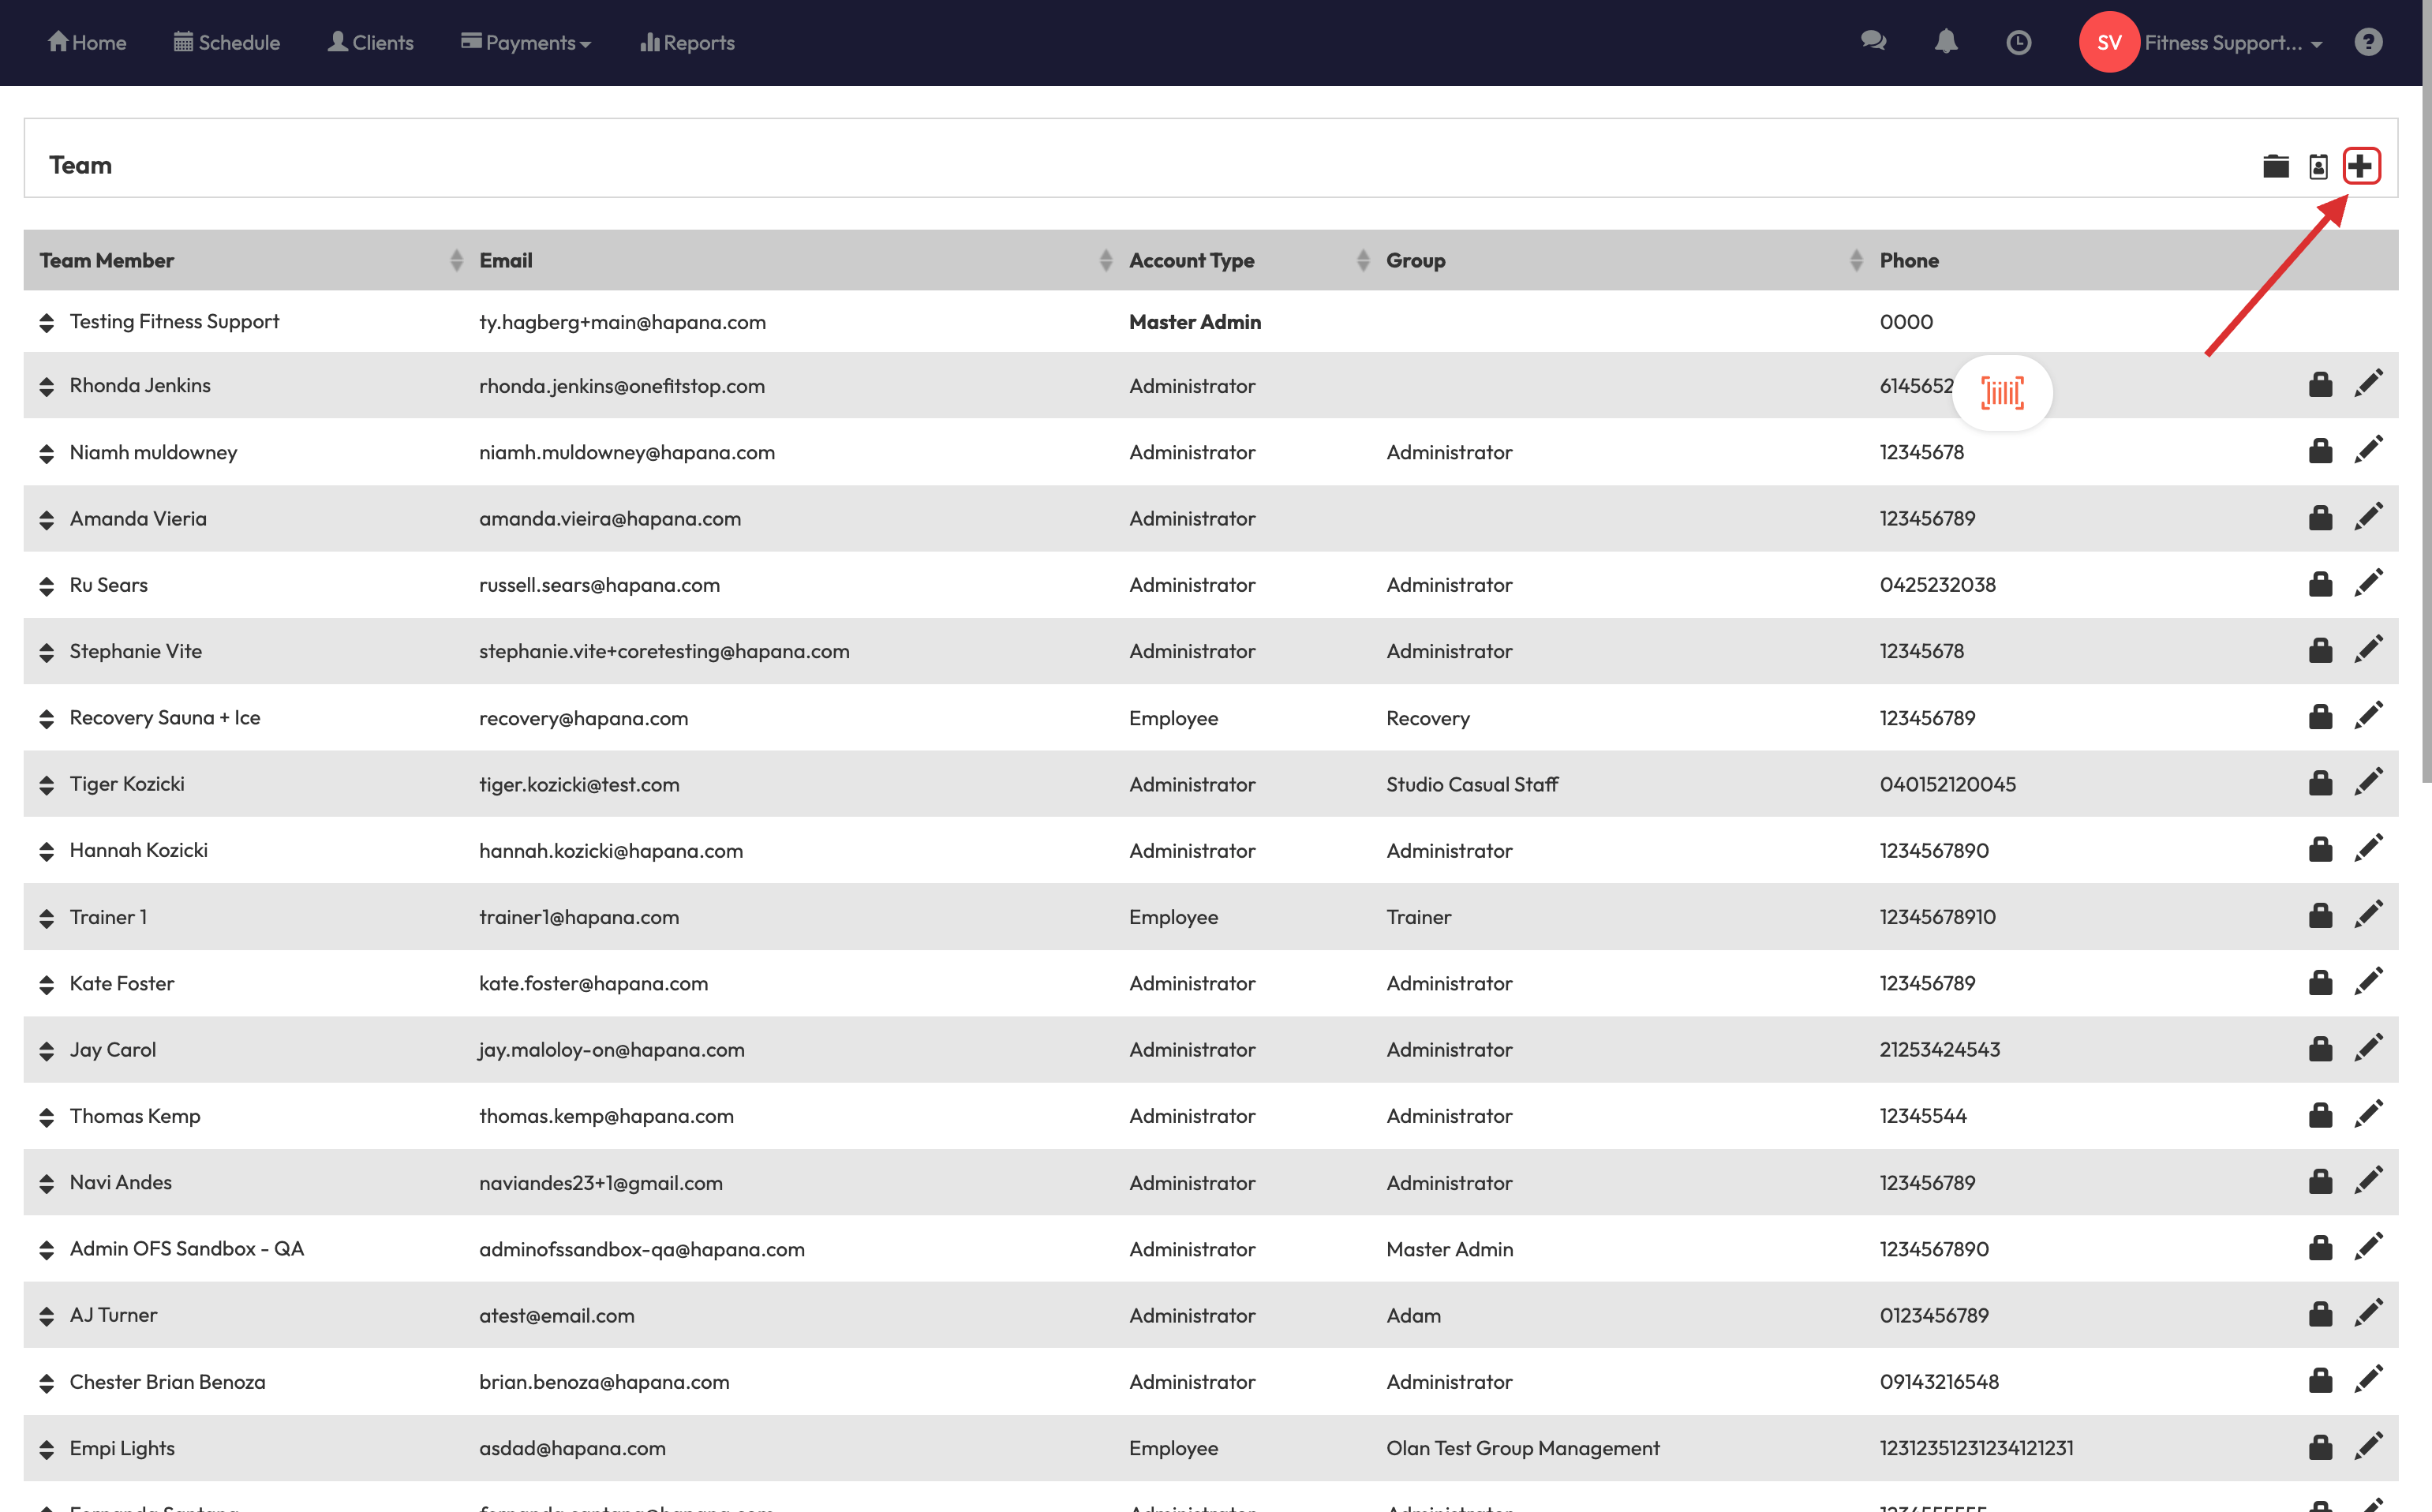
Step 1: Navigate to Team Settings
- Click your location name in the top navigation
- Select Team Settings
- Click the + icon to add a team member


Step 2: Choose access configuration
You have two options:
- Use a predefined Team Access Group (recommended for most roles)
- Custom configuration if the role requires unique permissions
✅ Tip: Access groups streamline onboarding and ensure consistency across team roles.

Step 3: Enter team member details
- Choose a Team Access Group (e.g. Trainer)
- Enter a unique email address
-
If the email is already used in CORE, append
+1to create a unique loginExample: [email protected]
-
- Fill in:
-
First name & Last name
-
Phone number (not required, but recommended)
-
(Optional) Payroll Tier — assign now or schedule for a future date
-
(Optional) About, Hobbies, Instagram Handle
These will appear on the client-facing app and booking widgets
-
- Set a temporary password (they’ll be prompted to change it on first login)


Step 4: Define work hours (if needed)
-
Toggle on/off days of the week the trainer is available
-
Set their start and end times
📅 This limits when they can be booked for PT sessions, 1:1s, or request-based services

Step 5: Assign to schedule templates (if instructor)
After clicking Save, you’ll be prompted to:
- Assign the instructor to all schedule templates
- Or select specific templates (e.g. Strength Classes only)
This controls where they can be assigned on the schedule.

Expected Outcome
Your team member will be added with the correct access level, visible profile info, and available for scheduling based on their assigned templates and work hours.
FAQs
Q: What if the email is already in use at another location?
A: CORE will auto-fill name and phone from their existing profile. You can still use the same email.
Q: Can I adjust work hours later?
A: Yes — both admins and instructors (with permission) can update work hours at any time.
Q: What’s the benefit of using access groups?
A: They save time, ensure consistent permissions, and reduce setup errors.
Still need help?
Reach out to our support team via [email protected]m

