
 518
518
Overview
The Check-in Report shows who has checked in to your studio, how they did it, and when. It's a powerful tool to help you track attendance trends, follow up with inactive clients, and manage multi-location usage. This guide covers how to access, filter, and understand the report.
🎥 Watch the walkthrough:
Or preview it below:
Prerequisites
- Access to the Reports tab in CORE
- Reporting permissions for Client & Attendance
- Clients must be using some form of check-in (kiosk, app, or desktop)
Step-by-step instructions
1. Open the check-in report
- Click on Reports in the top navigation bar
- Under the Client and Attendance section, select Client Check-in
- Set your desired date range at the top
Tip: You can only pull data for up to 6 months at a time.


2. Choose your view format
You’ll see four report versions, but most users use the first two:
-
Detailed Report
See every individual check-in during the date range. This includes:
- Client name and info
- How they checked in (e.g. app, kiosk, widget)
- The class attended and check-in time
- Any flags or alerts (e.g. failed payment, warning icon)
-
Summary by Client
Shows total check-ins per client within your set range. This helps you spot:
- Who’s consistently showing up
- Who’s gone quiet
- Who’s checking in with issues (e.g. payment alerts)


3. Add extra info (optional)
Click Edit Report Settings in the top-right to include more columns, such as:
- Membership or package details
- Home studio (useful for multisite operators)
- Staff or trainer information tied to the class
- Client custom fields


4. Use other views as needed
-
Summary by Period
Breaks down the total number of check-ins across your date range:
- How many were valid
- How many had failed payments or alerts
-
Corporate Usage
Shows clients visiting your studio from other locations in your brand. Useful for:
- Franchise models or multi-site setups
- Seeing where members are cross-training
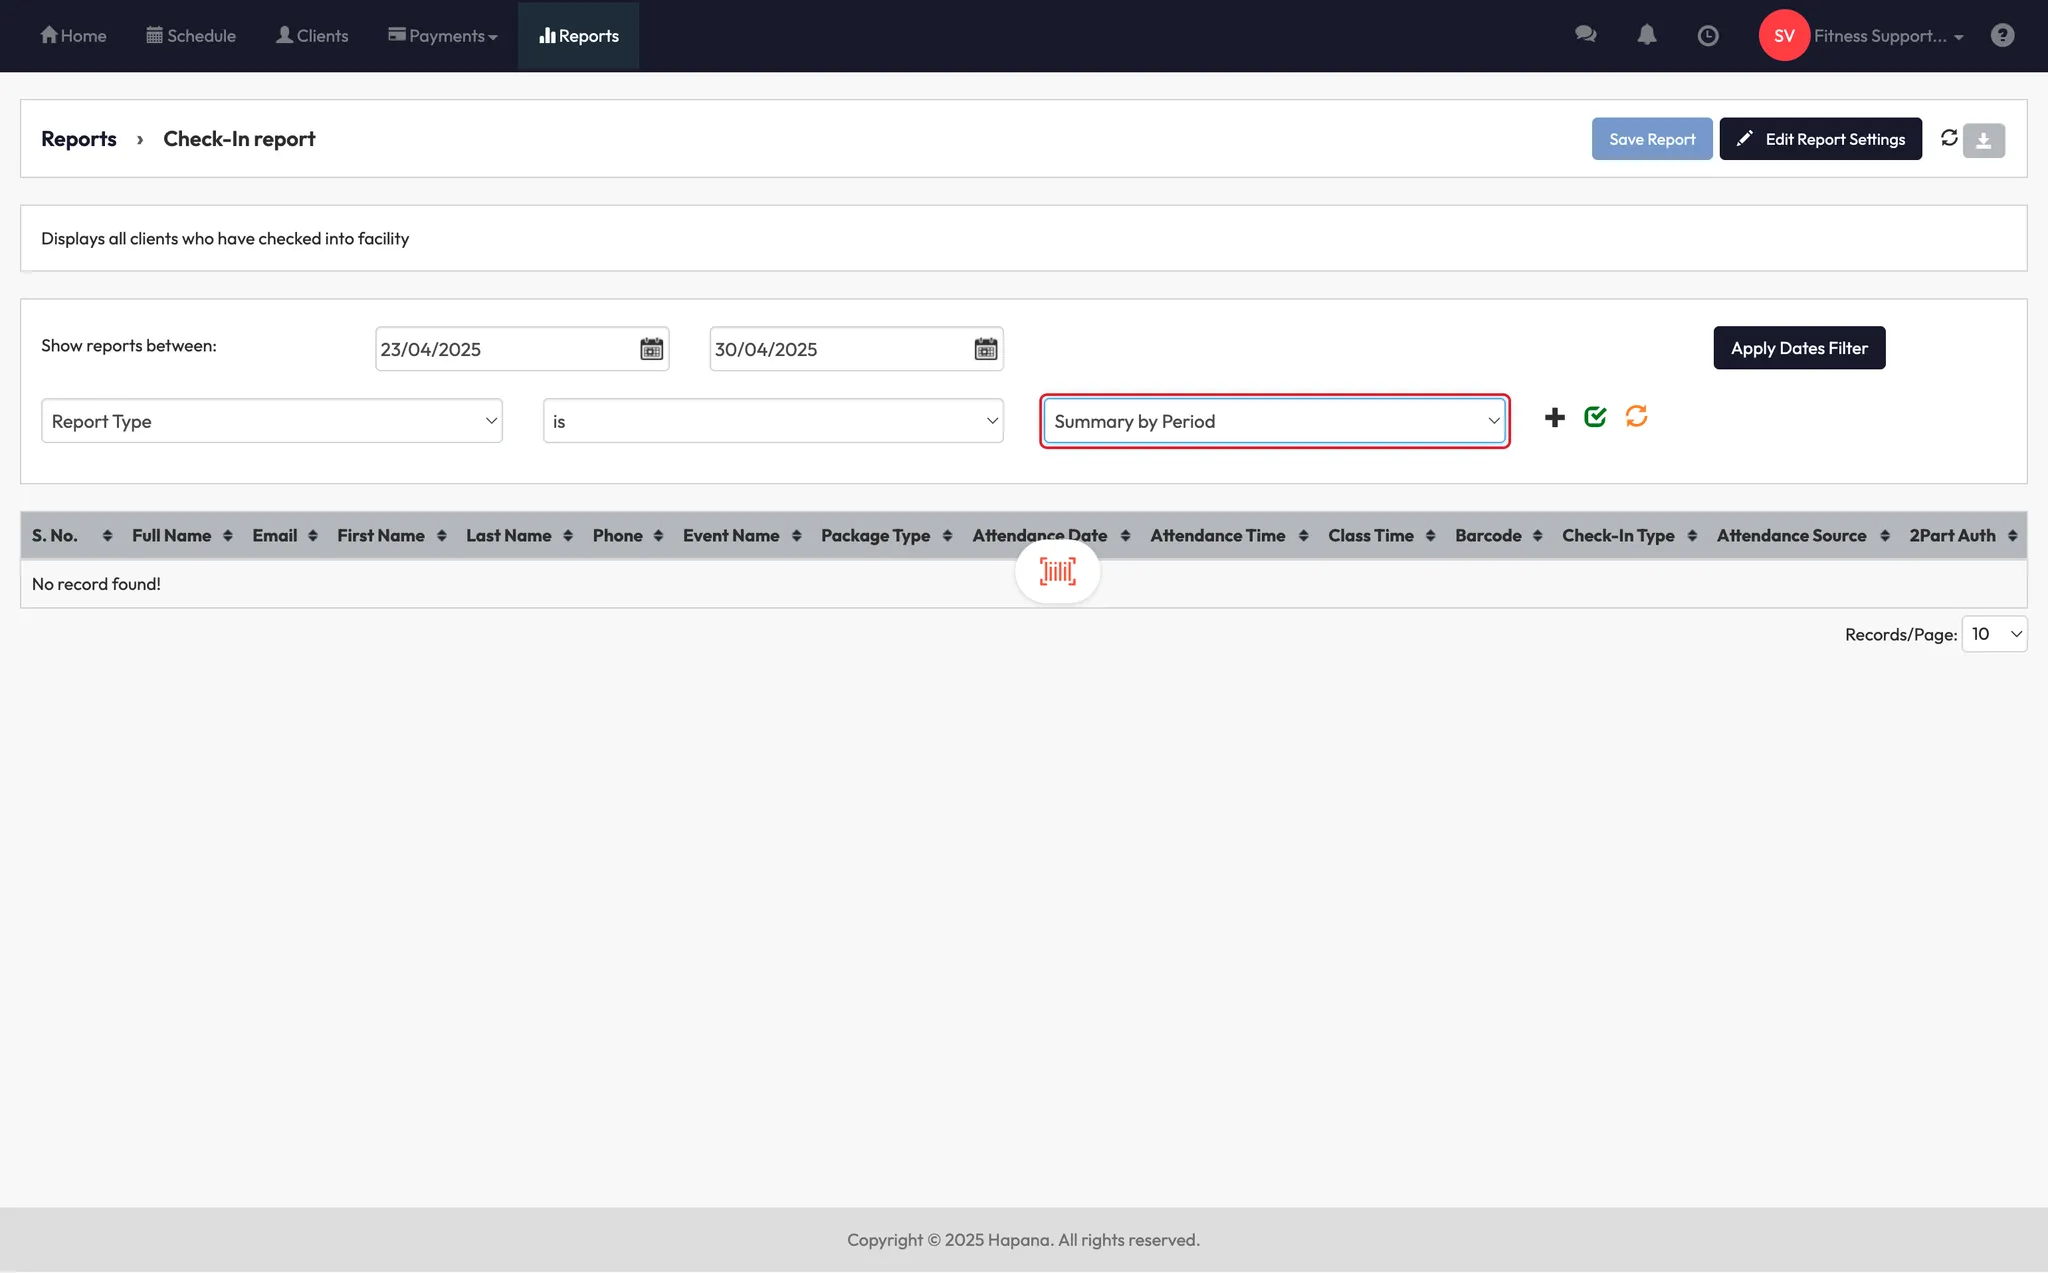

Columns Explained
| Column | Description |
|---|---|
| S. No. | Serial number for each check-in record. |
| Full Name | Client's complete name as recorded in the system. |
| Client's email address. | |
| First Name | Client's first name. |
| Last Name | Client's last name. |
| Phone | Client's phone number. |
| Event Name | Name of the session, event, or package used for check-in. |
| Attendance Date | Date when the client checked in. |
| Attendance Time | Time of the check-in event. |
| Class Time | Scheduled time of the class or session. |
| Barcode | Unique barcode ID assigned to the client. |
| Check-in Type | Type of check-in. |
| Attendance Source | Source through which the attendance was recorded (e.g., Mobile - Contactless, Web - Session, Mobile - Session). |
| 2 Part Auth | Indicates whether two-factor authentication is enabled for the client. |
Expected outcome
After following these steps, you'll have a clear picture of:
- Who’s checking in and how often
- Who has payment or profile issues at check-in
- Where your clients are checking in from (especially for multi-site studios)
FAQs
Q: What’s the difference between “detailed” and “summary by client”?
A: Detailed shows every individual check-in. Summary shows total check-ins per person during your date range.
Q: Can I see who checked in from another location?
A: Yes! Use the Corporate Usage tab to see who’s visiting from other studios in your brand.
Q: Why don’t I see any data for a full year?
A: The check-in report only allows up to 6 months at a time.
Still need help?
Reach out to our support team via [email protected]

